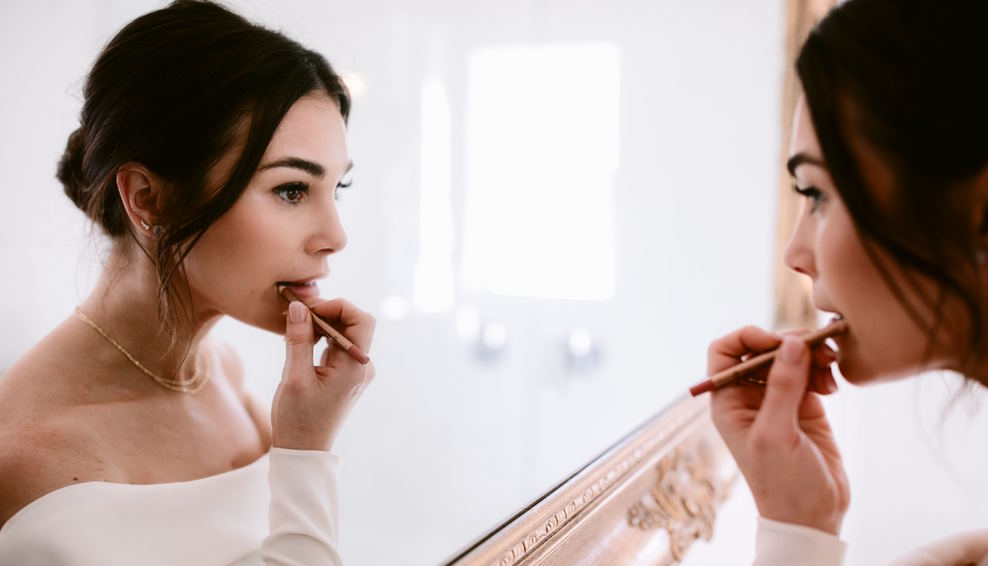
How to Get the Perfect Metallic Bronze Wedding Makeup Look

Whether you’re a bride-to-be or simply looking for inspiration for your upcoming special occasion, we’ve got the perfect metallic bronze wedding makeup look ready! This tutorial has everything from beautiful bronzy eyeshadow shades to our foolproof contouring tips. We even discuss our favorite tools and products to achieve maximum radiance. So if you’re ready to create a stunning copper fantasy look in just a few easy steps, sit back and get ready as we guide you through how to get the perfect metallic bronze wedding makeup look easily!
How to wear metallic bronze makeup for your wedding day
On your wedding day, you want to look stunning. Metallic bronze makeup is a great way to capture that classic yet modern bridal style. Here are some tips on how to apply metallic bronze makeup for your wedding day:

- Prep Your Skin – Before applying any mascara or eye shadows, make sure you have prepared your skin first. Cleanse and moisturize the skin with products tailored to your skin type and tone. Use an oil-free primer to create a smooth surface for the makeup applications ahead.
- Apply Foundation – After prepping your skin, it’s time for foundation! First, choose a foundation that matches your natural complexion and provides medium coverage for a polished finish. Then, if desired, use a damp sponge or brush to blend the foundation into your skin and ensure it looks natural.
- Go Bronze – Choose an eye shadow palette for metallic bronze makeup with colors ranging from light gold to deep bronzes. Use a fluffy eyeshadow brush to apply the lighter shades first and then layer on the darker colors for more definition and depth. Next, line your upper lash line with black eyeliner for added drama, making sure not to go overboard. Finally, use waterproof mascara to coat your lashes so they stay put throughout the night!
- Finish With a Gloss – To complete your look, apply a peach gloss or lipstick in a shade that complements your bronze shadow. This will help tie everything together and give your look a polished feel.
By following these tips, you can easily achieve a beautiful metallic bronze makeup look for your wedding day. In addition, you’ll surely make an unforgettable entrance with just the right products and techniques.

Ways to make your metallic wedding makeup last all night
- Apply a Primer: Primers can help create a barrier between your skin and makeup, helping it to stay put for hours. For best results, use an oil-free primer that is specifically designed for long wear.
- Powder Your Face: Applying powder helps lock in your foundation and concealer, making them more resistant to smudging or melting off throughout the night. Use a translucent powder to avoid adding too much color or texture to your finished look.
- Set It with Setting Spray: To ensure your metallic wedding makeup lasts all night long, set it with a setting spray or a finishing mist. This will help seal everything in place and prevent any fading or creasing after you’ve finished applying your makeup.
- Use a Waterproof Mascara: To ensure your eyes look their best all night, opt for a waterproof mascara that won’t budge with tears or sweat. Apply two coats to create even more staying power and keep those lashes looking fabulous.
- Skip the Gloss: Glossy lipsticks tend to smudge and fade much faster than matte formulas, so it’s best to skip out on gloss if you want your wedding makeup to last longer. Instead, opt for a long-wear lipstick or stain that won’t transfer or wear off too quickly throughout the night.
- Touch Up Throughout the Night: Even with all these tips and tricks, your makeup will likely need a few touch-ups here and there throughout the night. So bring along a small bag of essentials such as blotting papers, cotton swabs, setting spray, and lip gloss so you can freshen up quickly and easily.
With these simple steps, you can ensure your metallic wedding makeup looks flawless all night long! After all, you want to look as beautiful in the last few moments of your special day as you did at the start. With this guide in hand, you’ll be able to make that happen easily.


